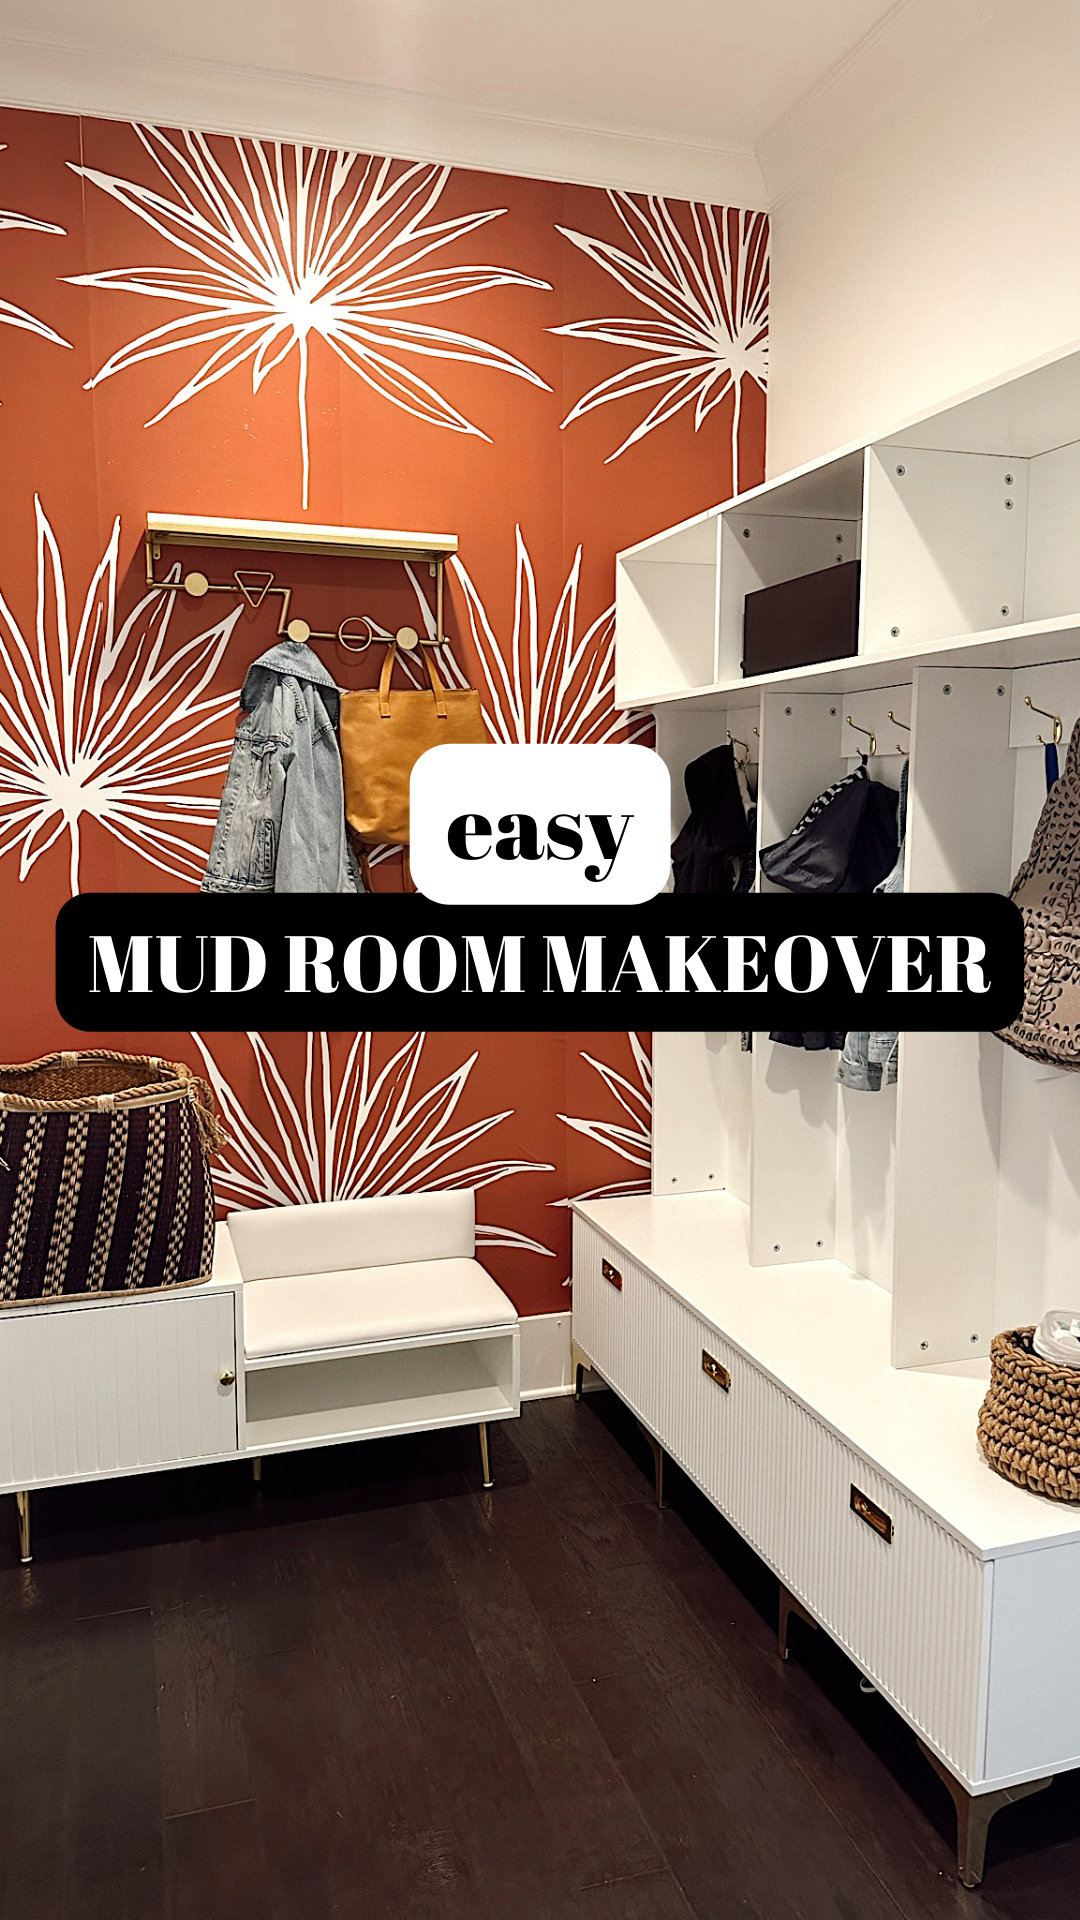
Welcome, DIY enthusiasts and home decor lovers! I’m sharing my Easy Mud Room Makeover: Home Renovations. Today, we’re thrilled to share our latest home renovation project that will inspire you to turn your sloppy mud room into a beautiful and functional space! We know how challenging it can be to keep this area organized, especially during rainy seasons or when you have kids and pets coming in with muddy shoes. But fear not, with a touch of creativity and some fantastic products from Homary and Wallblush, you can achieve a stunning mud room makeover that will leave you wondering why you didn’t do it sooner!
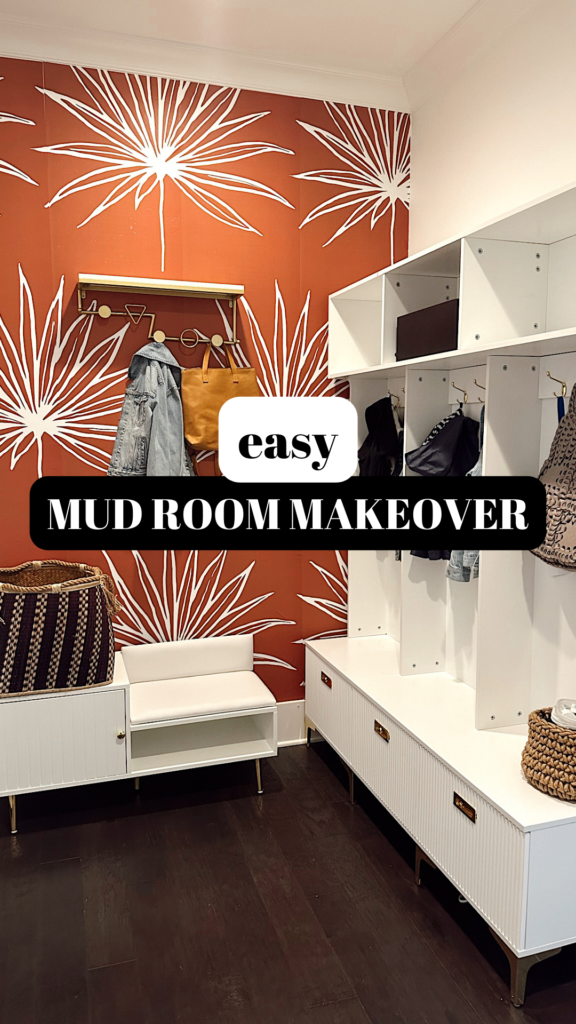
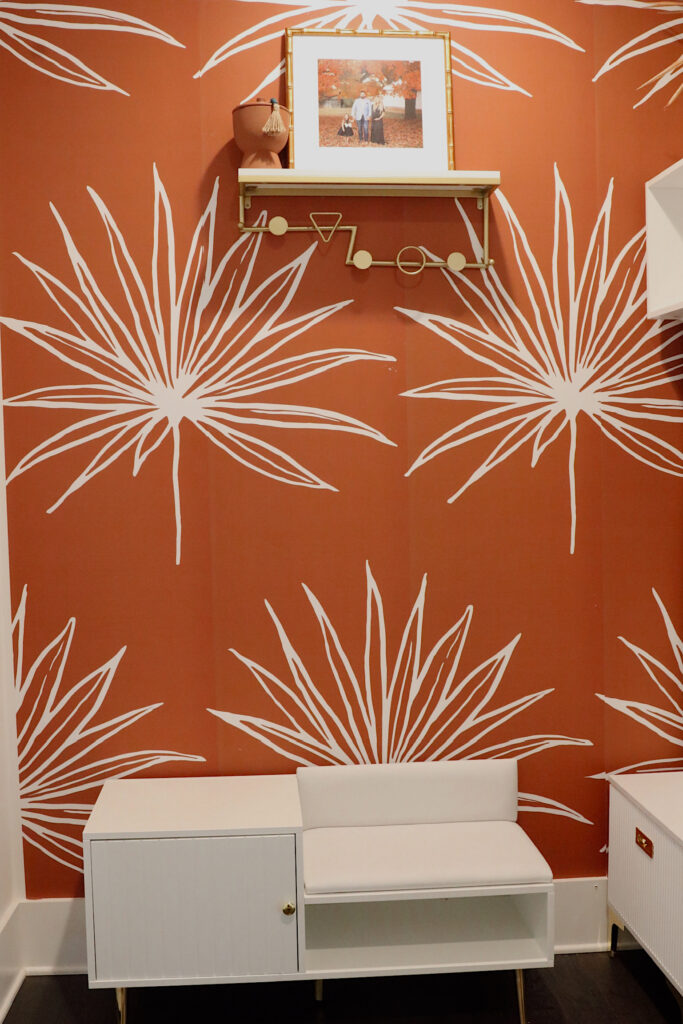
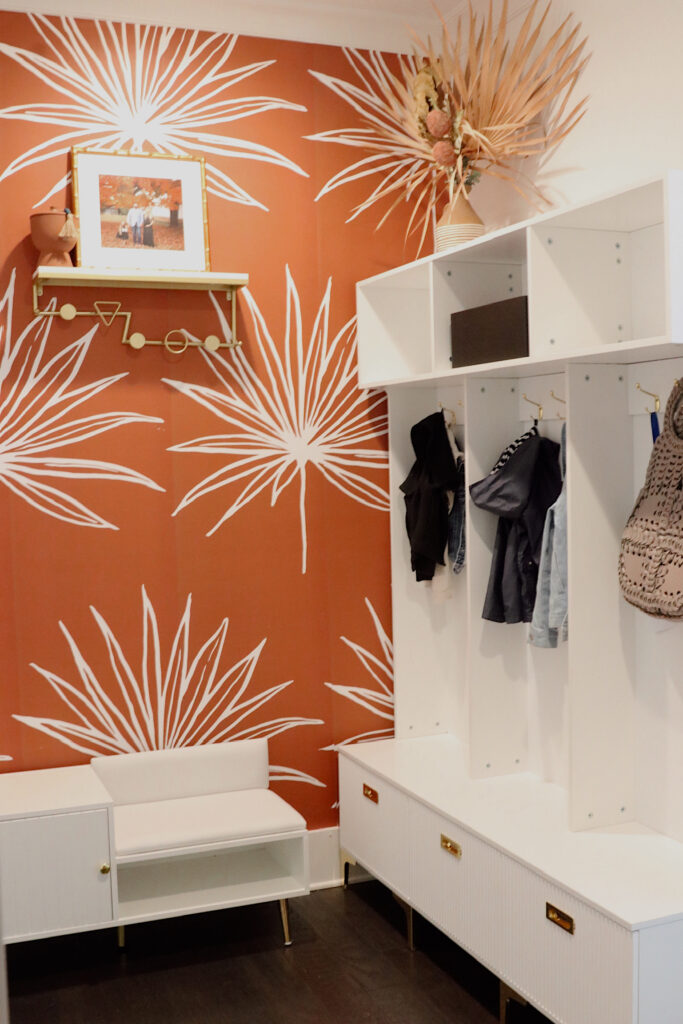
Why Choose Homary for Your Mud Room Furniture?
Before we dive into the makeover process, let’s talk about why we chose Homary for our furniture needs. Homary has been our go-to brand for affordable and high-quality furniture, and this project was no exception. Their collection features a wide variety of stylish and functional pieces designed to suit any home decor style.
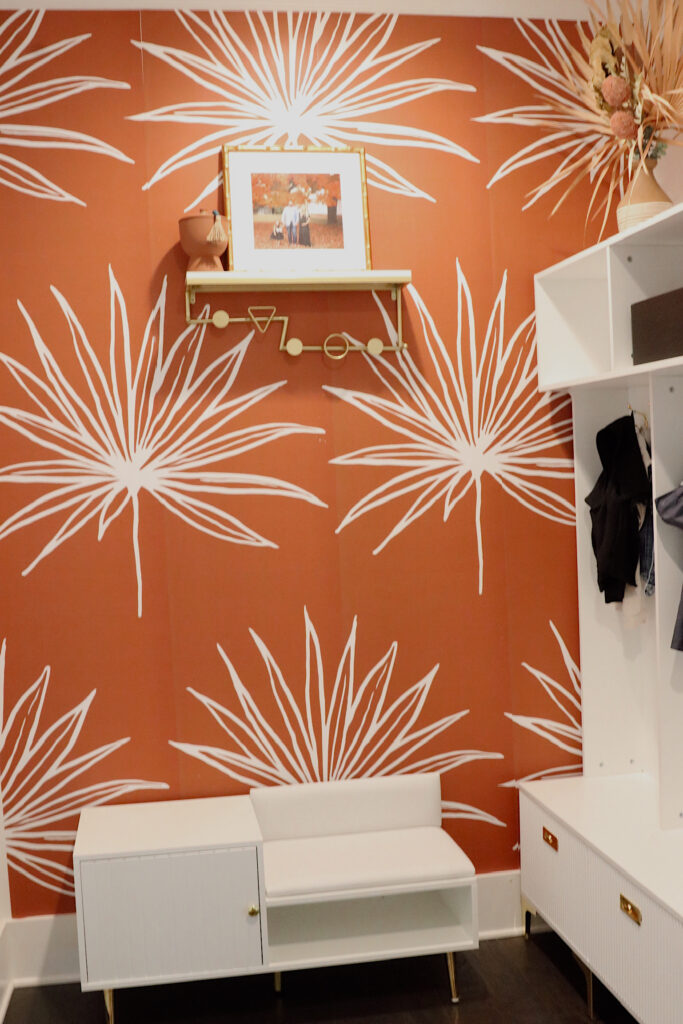
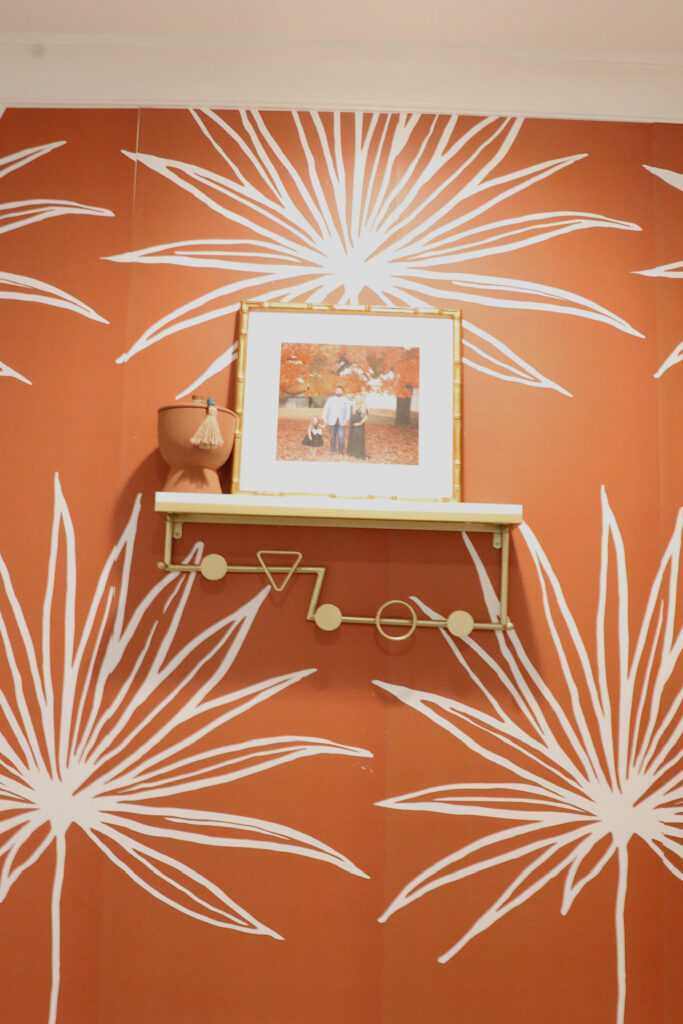
Homary’s dedication to quality and craftsmanship is evident in every item they offer. From sleek and modern designs to classic and timeless pieces, Homary covers all bases. Not to mention, their customer service is top-notch, ensuring a smooth and satisfying shopping experience.
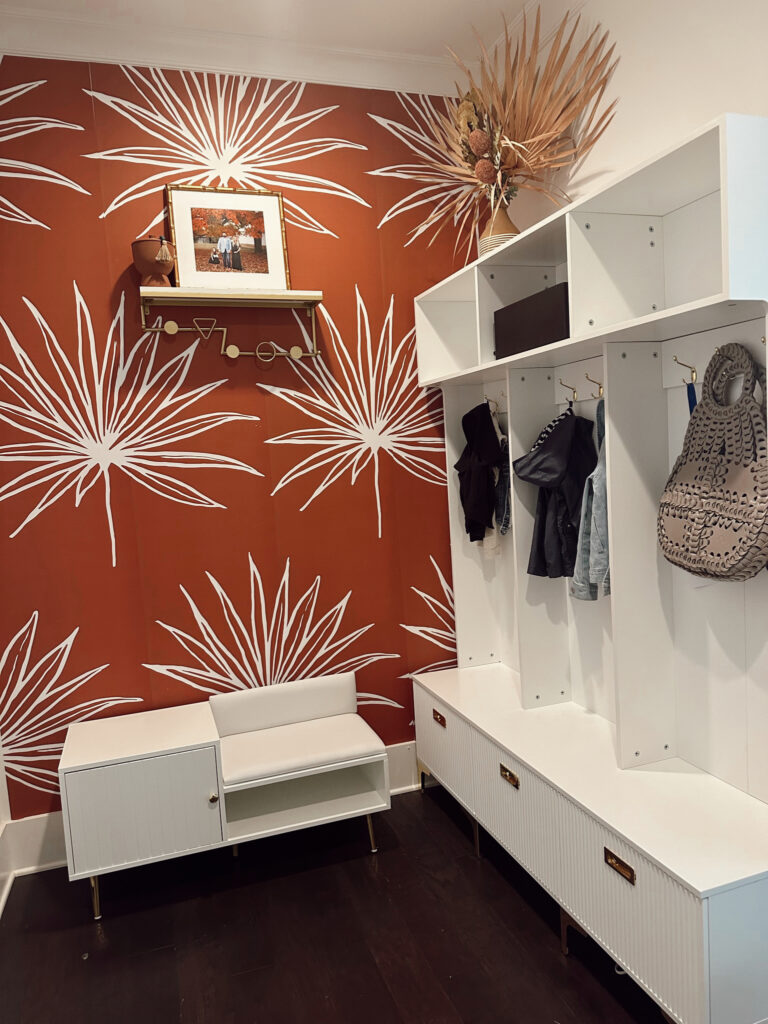
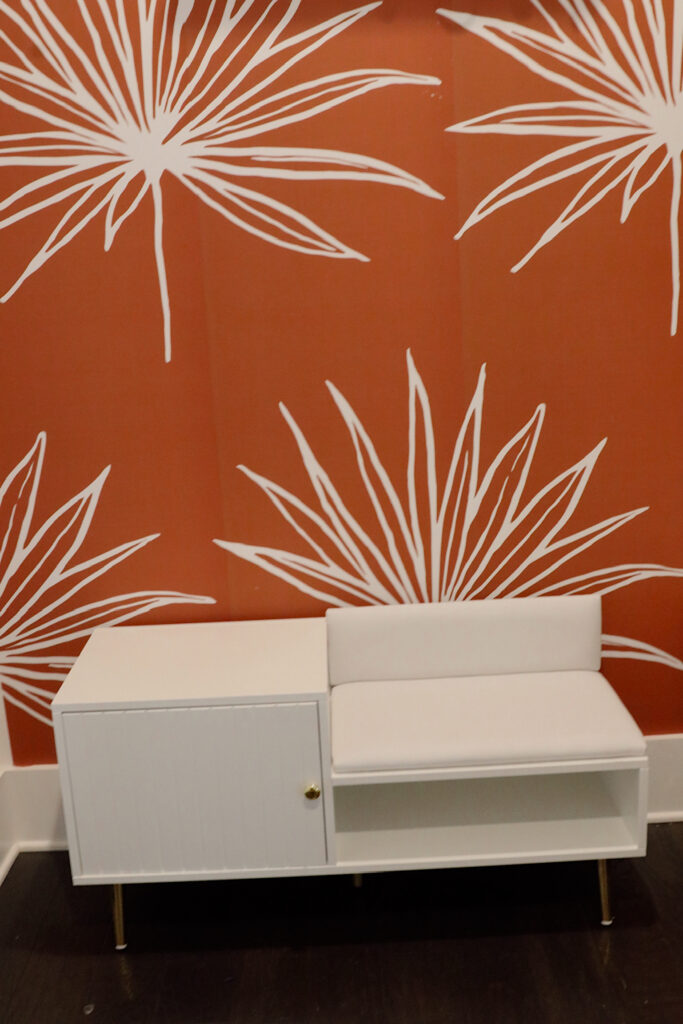
Let’s Get Started!
Step 1: Declutter and Organize
The first step to any successful makeover is decluttering and organizing the space. Take some time to assess what you truly need in your mud room and what items can be relocated or donated. Invest in sturdy storage solutions like shelves, cabinets, and hooks to keep your belongings tidy and accessible. Homary’s wide selection of storage furniture will surely have the perfect fit for your needs.
Step 2: Upgrade Your Seating Area
The mud room isn’t just a spot to stash your shoes; it can also be a cozy seating area for putting on or taking off footwear. Replace your worn-out bench or chair with a stylish and comfortable alternative. We opted for a gorgeous mid-century modern bench from Homary that not only looks chic but also provides extra storage space underneath. It’s perfect for tucking away seasonal items or frequently used accessories.
Step 3: Add Some Flair with Wallblush Wallpaper

Now that your mud room is well-organized and has a comfortable seating area, it’s time to add some personality to the space. Enter Wallblush’s stunning wallpaper collection! Wallblush offers a wide range of designs, from subtle textures to eye-catching patterns. We chose a fun and easy-to-apply wallpaper with a nature-inspired motif to bring a touch of the outdoors into the room. Wallblush’s peel-and-stick wallpaper made the application process a breeze, and we were amazed at how it instantly transformed the space.
Step 4: Accessorize and Personalize
The final step is all about the finishing touches. Add some decorative elements that resonate with your style and preferences. Hang framed artwork, family photos, or inspirational quotes on the walls. Place a colorful rug on the floor to add warmth and texture. Don’t forget to include a sturdy umbrella stand and a coat rack to keep wet umbrellas and jackets organized.
Reveal Your Stunning Mud Room!
Voilà! With just a few simple steps and the help of Homary’s exquisite furniture and Wallblush’s stunning wallpaper, your mud room has undergone a fabulous transformation. It’s no longer a sloppy landing space but a beautiful and functional area that adds value to your home. Now, stepping into your home after a long day will be a delightful experience!
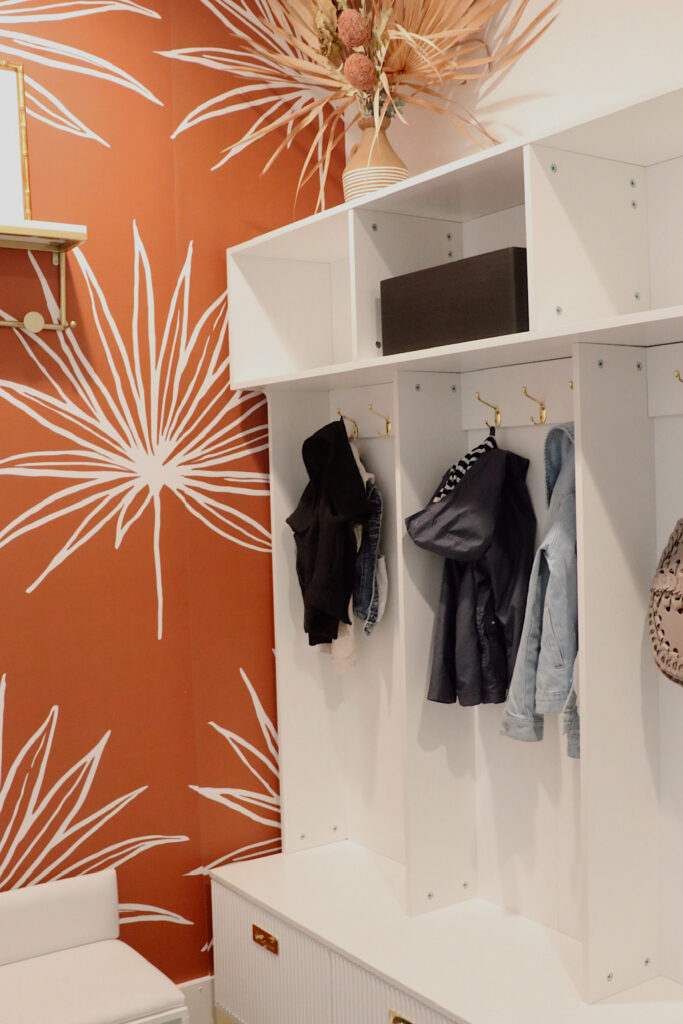
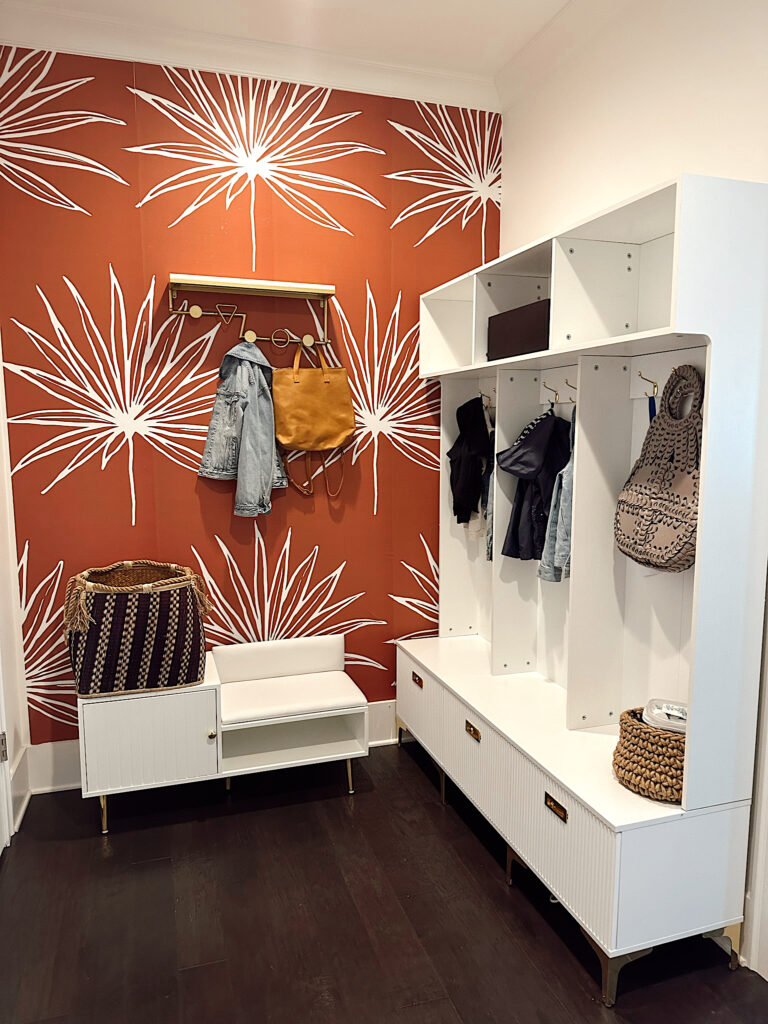
We hope our mud room makeover has inspired you to take on your home renovation project. Remember, a little creativity and the right furniture and decor can go a long way in transforming any space. For your convenience, we’ve included links to the products we used, so you can easily shop for these fantastic items from Homary and Wallblush.
SHOP OUR FAVORITES BELOW from our mud room makeover:

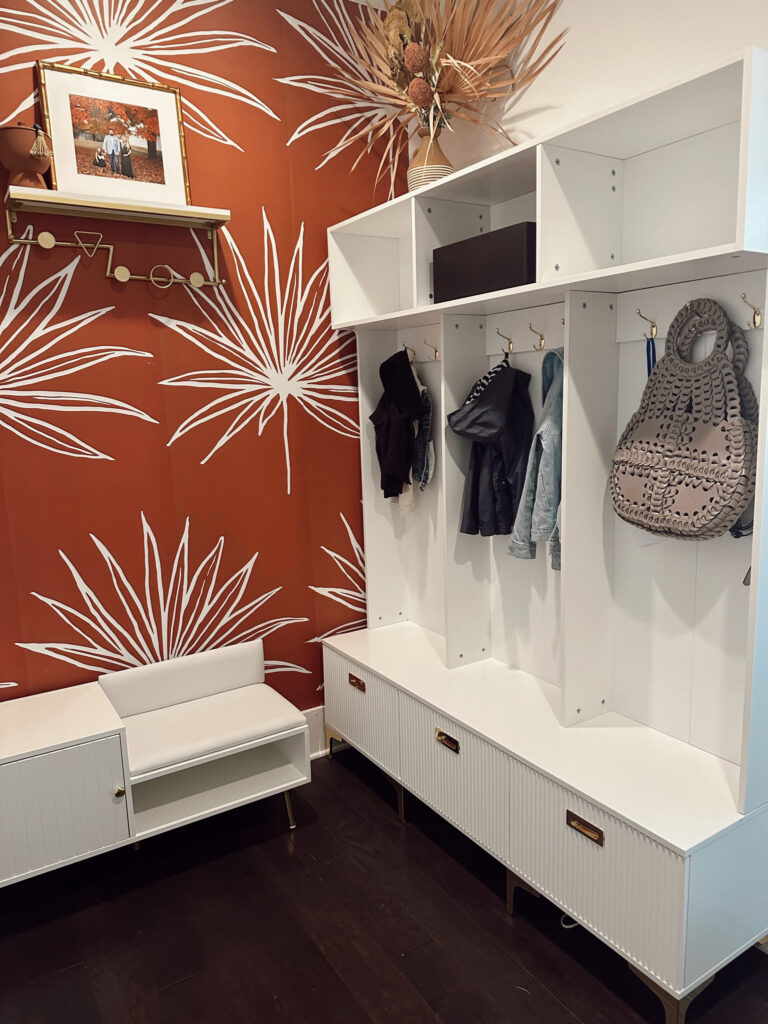
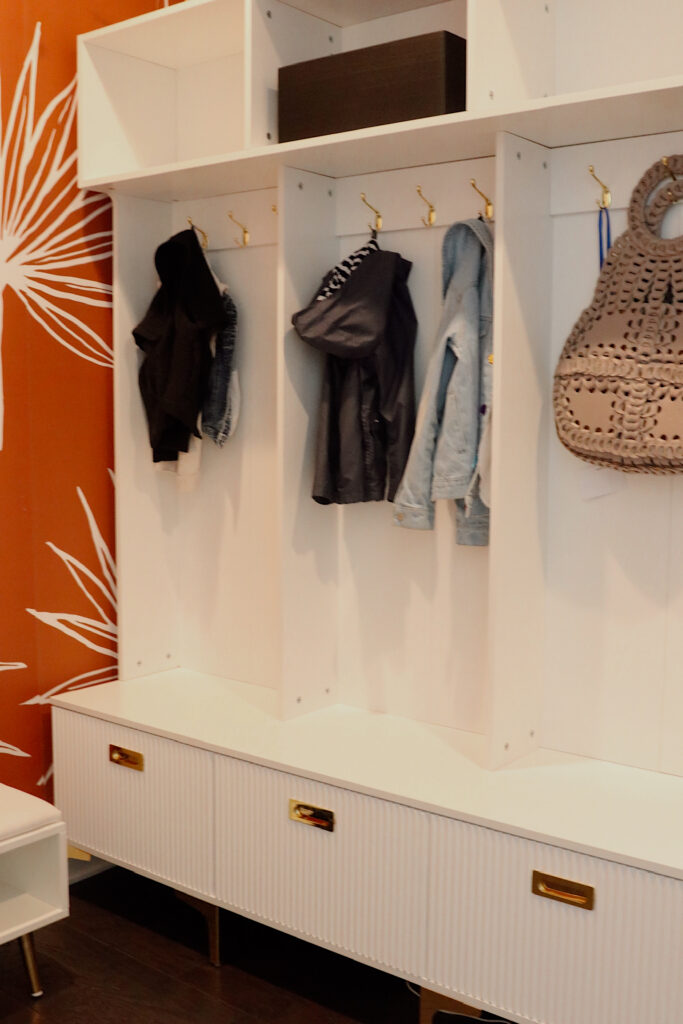
Happy renovating, and may your mud room become a reflection of your unique style and a source of joy in your daily life!
