How To Update A Small Laundry Room Renovation on a Budget With Floor & Decor
This post is a sponsored post written by me on behalf of Floor & Decor. All opinions are 100% mine.
As you guys know if you’ve been following me for awhile we bought our house to renovate. It has been both challenging but obviously rewarding. The best part has been the opportunity to explore my creativity in desgining the renovations. I have been trying to figure out how maximize the space in my small laundry room and design it since it’s so compact. I am so happy with the way it turned out. All that is left is putting some shelves in and I will update with the final product when we install. We spent roughly under $300 aside from outsourcing the tile work with a contractor. We did provide them with materials like grout, edging and tile so if you’re handy like my parents and can do your own tile, knock it out sis! So how did we do this makeover on a budget… Well I’ll tell you the deets!
Laundry Room Remodel
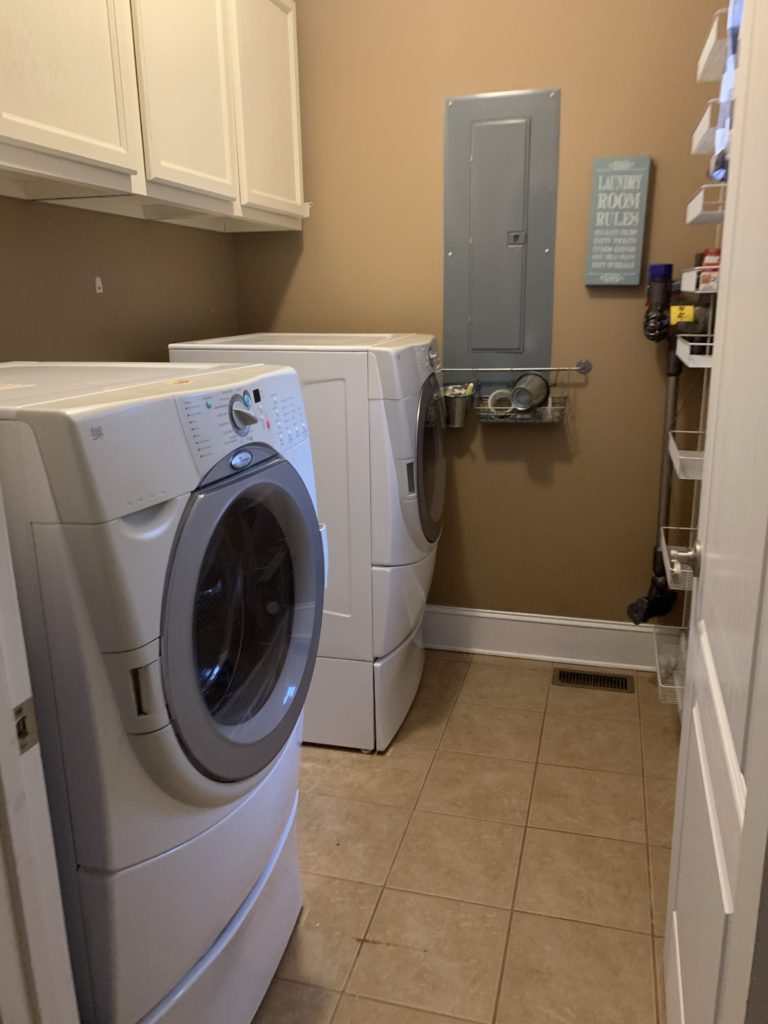
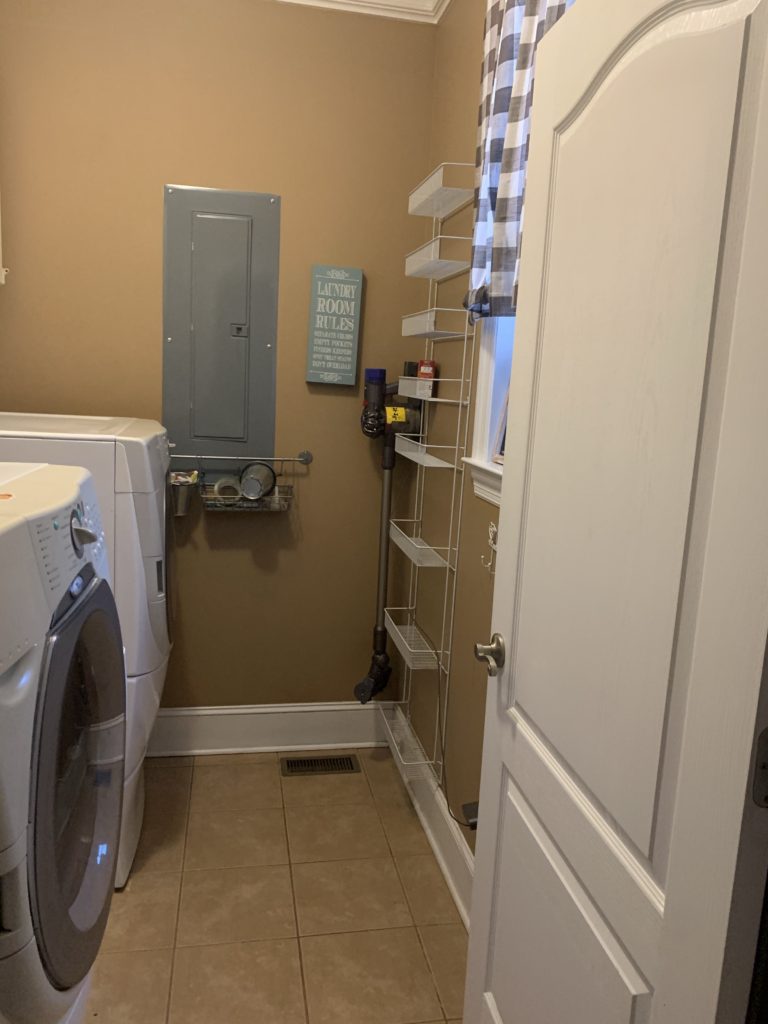
What improvements did we make?
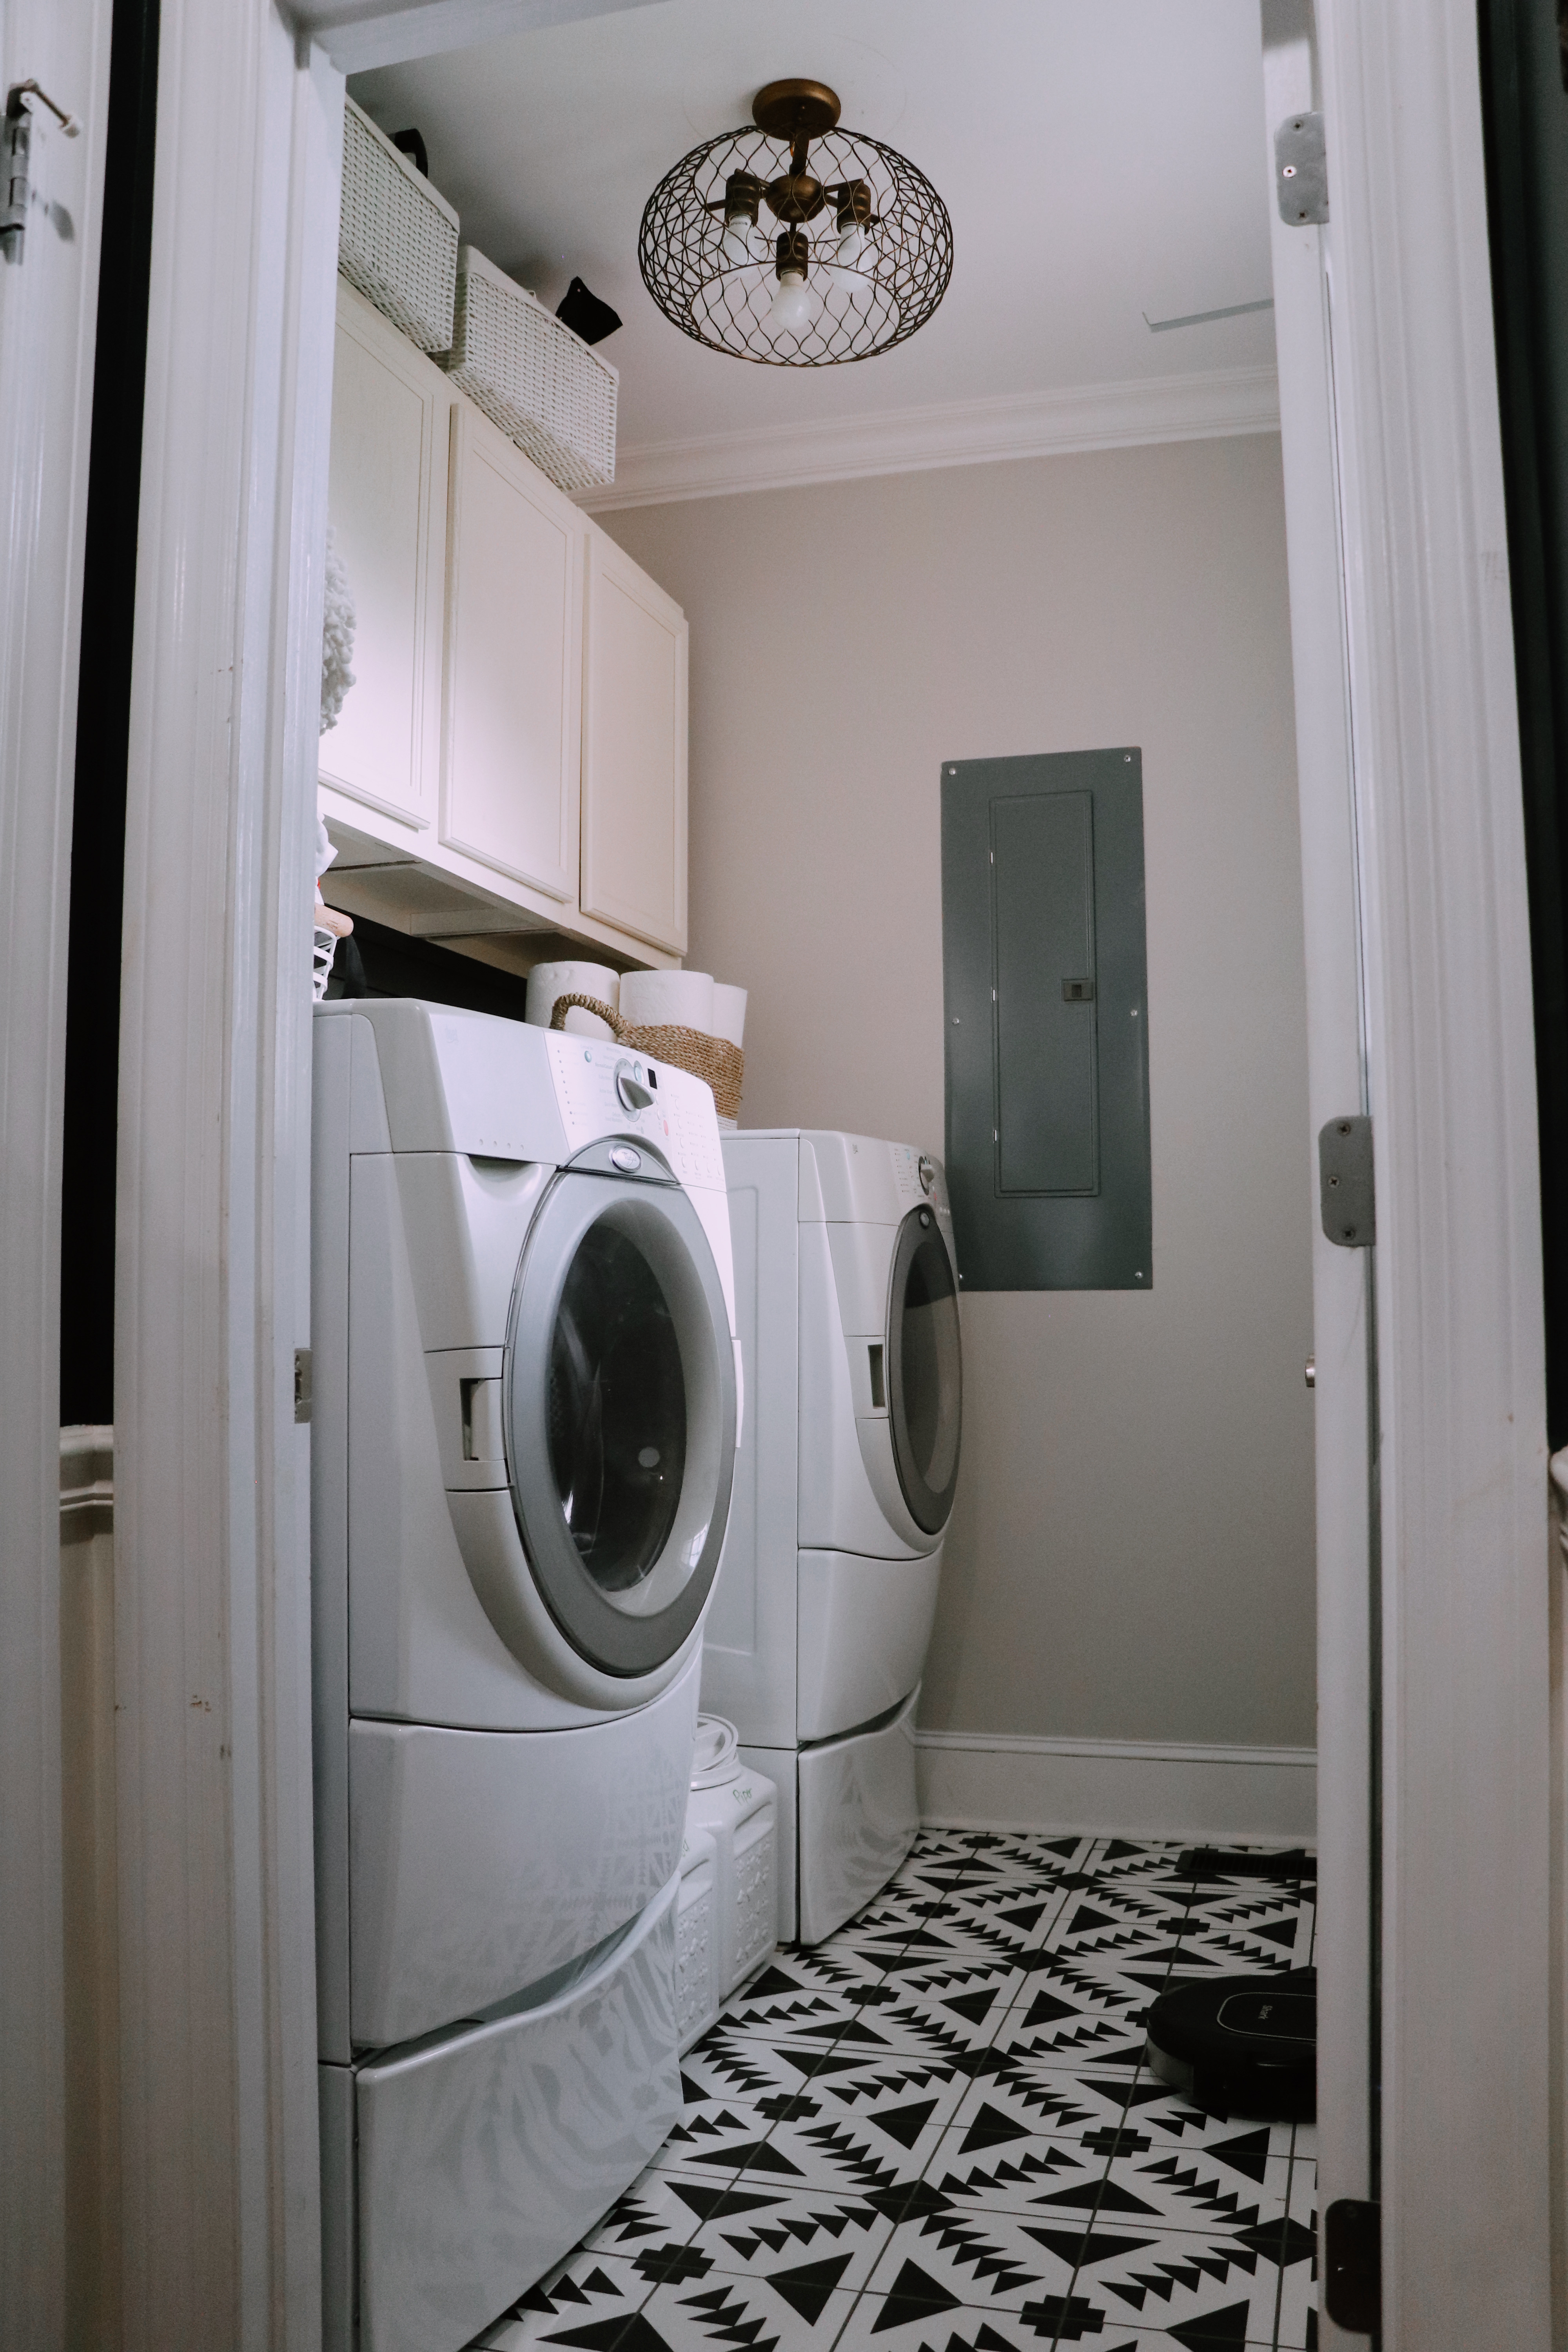
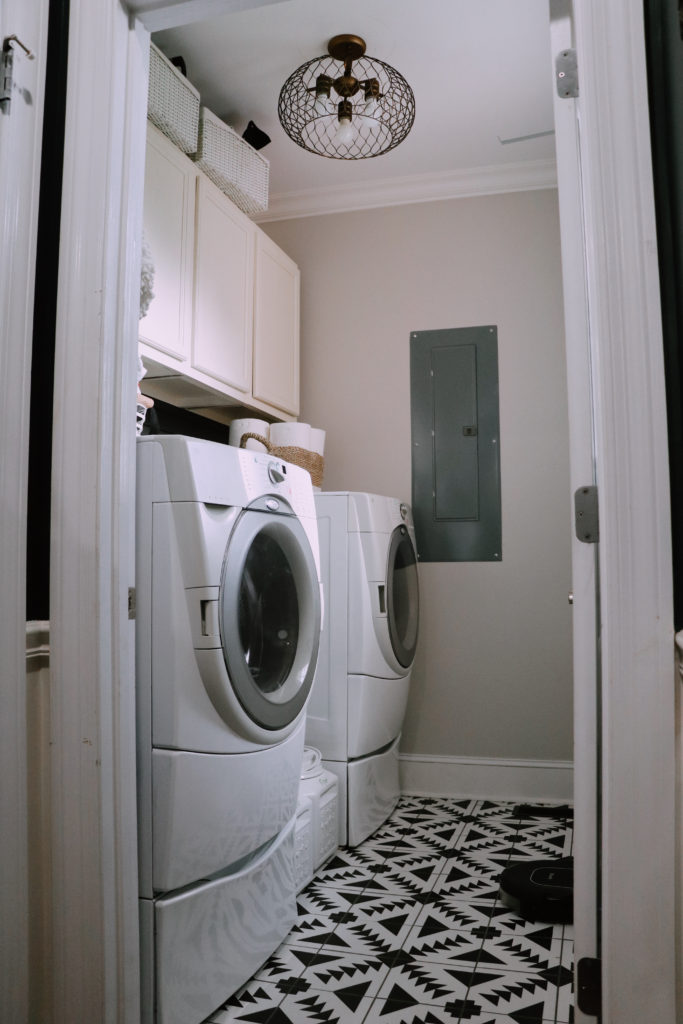
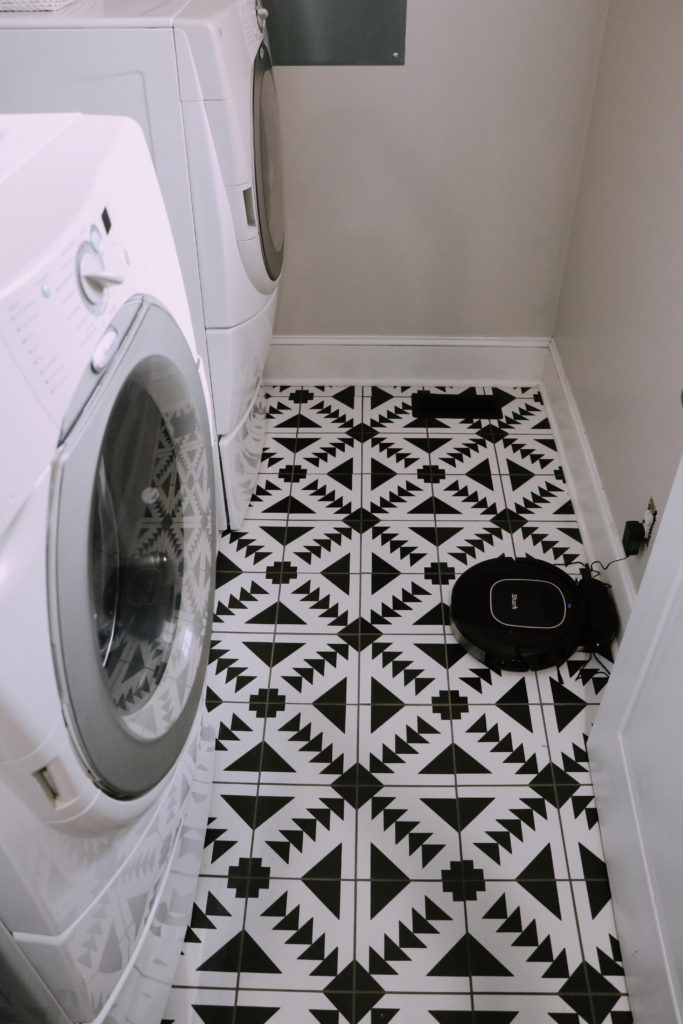
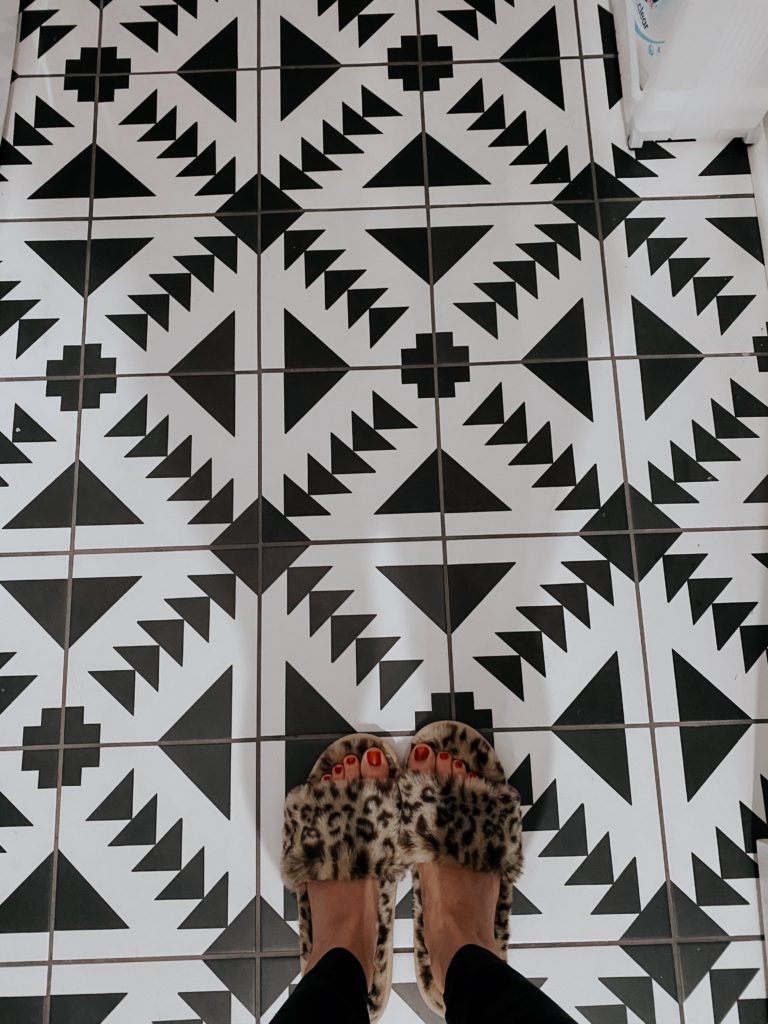
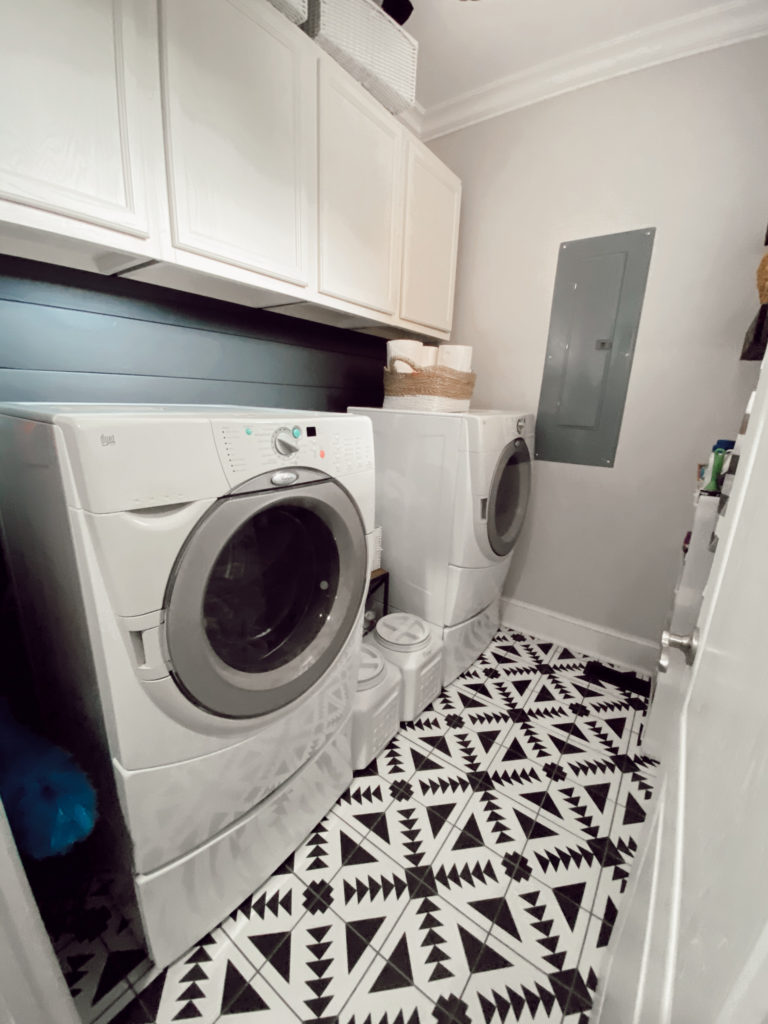
First off we obviously had the old, outdated tile removed and added new tile that complimented our style a little better and I have to admit, I’m obsessed with the pattern. Wanna know what else I’m also obsessed with? The price. We chose an Aztec style tile that compliments our master bath and the same color family as all tile downstairs.
Floor & Decor came in hot with a price of $0.99/per piece. The tiles are 8×8, we ordered 110 (allotted 10% overage for error) totaling $108 + tax. I ordered 10lb of of charcoal grout and brass edging. I have shopped at a lot of home renovation stores since my Nana is a contractor and Floor & Decor has the best top-quality products at a steal. In addition to a wide-variety of in-stock product, I also love that they offer a unique shopping experience that has free design services available. Their deaigners can help you from start to finish with anything from choosing materials, picking out colors and patterns, budget planning and expressing your style into your project. You can check it out here.
I personally shopped for the tile online and picked up the order but once I got there I realized how in store they have even more. I could spend hours walking around in there. It gets me so excited for our next home since we are building. If you have one locally, it’s definitely worth a visit.
Next we painted the room a light grey to balance out the room. I chose grey because the white paint on the cabinets is more of a creamy white so I figured a stark white paint beside it would look off.
What paint colors did we use? cabinets are Alabaster by Sherwin Williams, the wall paint is Agreeable Grey by Sherwin Williams and the shiplap wall is Iron Ore by Sherwin Williams.
After we painted the room, we added a shiplap accent wall behind the washer and dryer. They call shiplap the labor of love and I can see why. Our friend Corey came over and he and Matt tackled it together. It was stressful I’m sure but Matt ended being so proud in the end. We purchased enough shiplap to cover the wall plus an additional 10% overage to cover error. The sizing you choose is purely your preference. We also chose to edge the walls especially since we painted the walls a separate color so that way if there were gaps you couldn’t tell. (That is the hardest part from what Matt said, making sure there are no gaps. But if you edge you can be less anal about making it perfectly touching the wall because it will hide it.) We actually painted the shiplap after it was installed to ensure the nail holes were the same color. You can also purchase colored shiplap panels but 1. theyre more expensive and 2. You will have nail holes fully exposed.
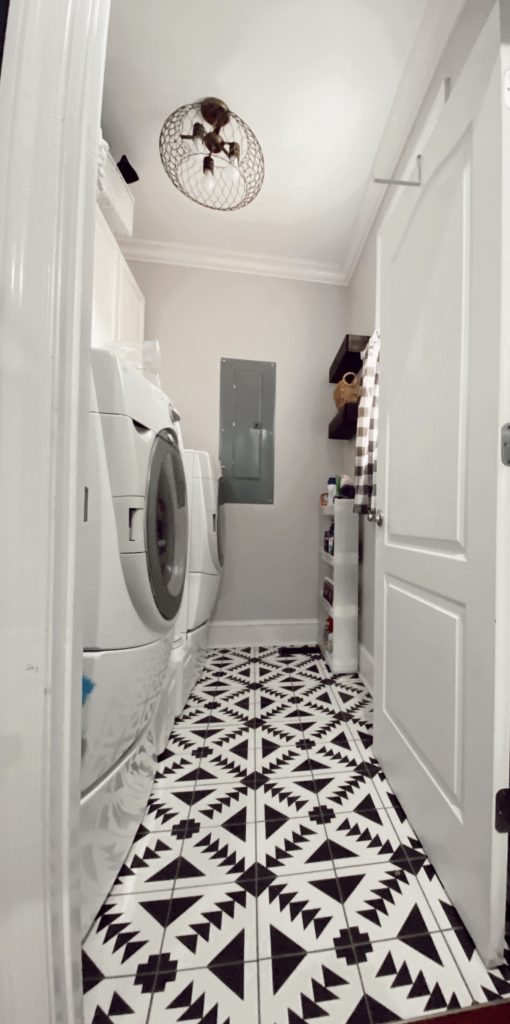
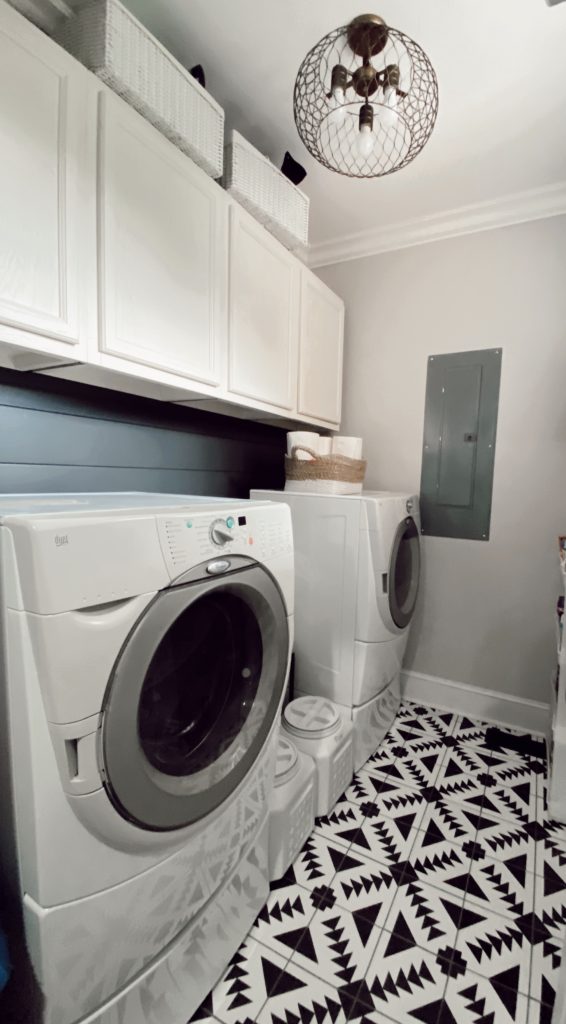
Finally we changed out the lighting to a brass modern light from Kichler. It looks so much better than the “boob” light we previously had in every closet and the laundry room. Since the room doesn’t have tall ceilings we didn’t extend the full pendant length, making it more of flush mount.
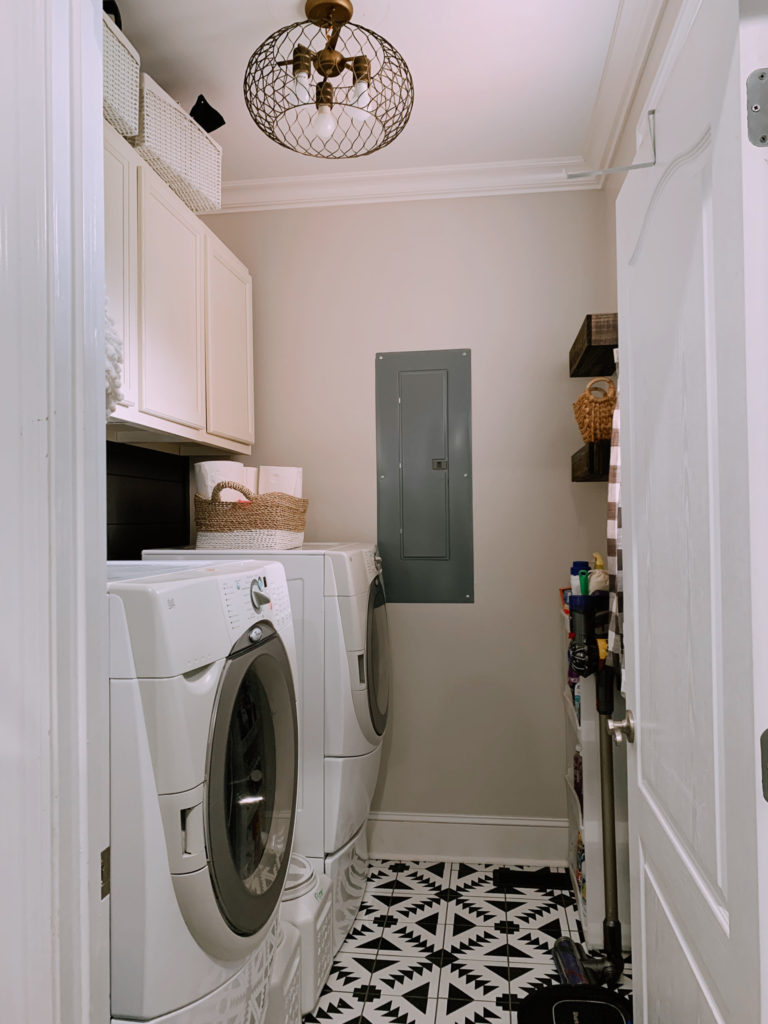
I love how it turned out. It looks so much brighter in there and I actually enjoy doing laundry now. Ok that part is a lie but at least I get to look at something pretty while doing so. Hope you guys like my laundry room remodel If you have any questions let me know in a comment below and make sure to keep on the lookout for my upcoming projects.